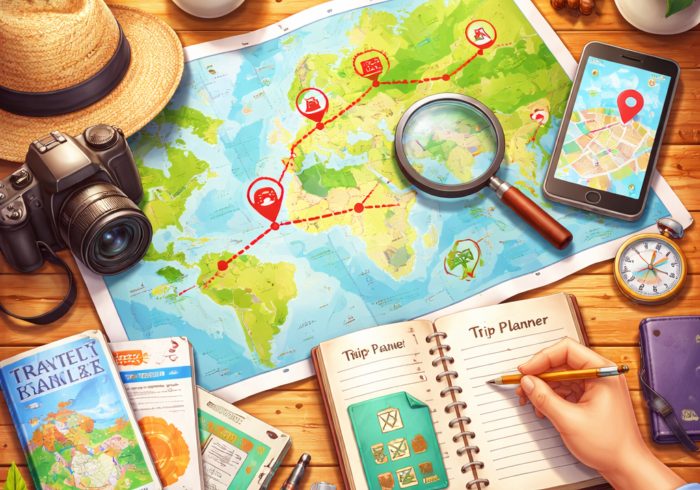

🎯Too Long; Didn’t Read
- Start by defining your tour’s goal in a single sentence – this frames everything. Know who it’s for.
- Pick a simple theme. Something to connect each stop. It also helps you say no to extras that don’t fit.
- Set realistic expectations. Consider pace, how deep you’ll go, daylight, and your group’s speed.
- Research using solid sources. Treat reviews as signals, not gospel truth.
- Build a big list of stops first. Then cut it down. Sort into must-sees, nice-to-haves, and optional extras.
- Confirm the practical details: hours, closures, last entry, tickets. Account for seasonal changes.
- Map your route based on real geography and transit, not just pins on a screen. Efficiency matters.
- Estimate time per stop. Add buffers. Schedule food, bathroom, and sit-down breaks – actually plan them.
- Create alternatives for weather or crowds. Don’t let one change collapse the whole day.
- Prep offline tools. Download maps, save pins, take screenshots. Have notes accessible.
- Pack for comfort and safety: water, a power bank, layers. The basics.
- Lock down logistics early. Reservations, tickets, transit rules, payment methods – sort them.
- Add engagement. Use prompts or mini-challenges at stops, especially for groups.
- Capture memories fast. Take one wide shot, one detail photo. Jot a short note. Then move on.
- End with a five-minute review. Note what worked, what didn’t. Improve the route for next time.
Define Your Tour’s Goal & Theme

Choose a clear purpose and audience
Start by naming the point of the tour in one line. Are you trying to learn local history, spot street art, eat your way through a neighborhood, or just fill a free afternoon? Then pick who it’s for: you solo, you and a friend, a family group, or a bunch of coworkers. Audience changes everything: walking speed, budget, bathroom breaks, attention span.
Also decide what “success” looks like. Three solid stops you actually enjoy can beat twelve rushed ones. If you’re doing this on a trip with limited time, your goal should include a hard end time, not just “see stuff.”
Pick a cohesive theme that ties stops together
A theme keeps the day from turning into random pins on a map. It can be as simple as “old town architecture,” “coffee shops with in-house roasting,” “Soviet-era landmarks,” “film locations,” or “parks and viewpoints.” Keep it specific enough to filter choices, but not so narrow that you’re stuck if one place is closed.
Your theme should also match how you like to move: wandering, or targeted visits. If you’re building a tour for friends, the theme should be easy to explain in a sentence. That sentence becomes your guide when you’re tempted to add one more stop just because it’s popular.
Set realistic expectations for pace and depth
Be honest about how you tour. Some people read every plaque; others glance and move on. Decide your default depth: quick look, medium dive, or deep research mode. Then plan pace around real constraints: daylight, transit frequency, and how much standing time you can handle.
A good rule is to schedule less than you think you can do, because delays happen. Long lines, detours, and snack stops will eat time. If you’re touring with others, assume the slowest pace wins. And if you’re in a new city, build in “lost time” on purpose. Getting turned around is normal, not a failure.
Research & Build a List of Stops
Find trustworthy sources and local context
Use sources that can be cross-checked. Official museum and site pages are useful for hours, ticket rules, and closures. Local tourism boards can help with basics, but they sometimes push the same headline spots. For context, look for reputable local history groups, university pages, or well-known guidebooks.
Recent reviews can help with practical stuff like queues and construction, but treat them as messy signals, not facts. If a claim can’t be verified (like a dramatic story tied to a building), skip it. You’re not writing a documentary; you’re planning a day. Keep notes with links so you can re-check details later.
Select must-see vs. nice-to-have locations
Make a big list first, then cut it down with a hard ranking. Must-see stops are the ones that match your goal and would annoy you to miss. Nice-to-have stops are backups or quick add-ons if time opens up. Aim for a core route you can finish even if the day goes sideways.
A practical approach:
- 3–5 must-sees (the spine of the tour)
- 3–6 nice-to-haves (flex stops nearby)
- 1–2 “if energy is good” extras (only if everything runs smooth)
Also check the distance between stops. Two places can both be great and still not belong in the same tour if travel time is a pain.
Check opening hours, closures, and seasonal changes
Confirm operating hours. Official sites provide this, not third-party listings. Schedules shift. Seasons change access. Last entry times cut visits short. Maintenance closes wings.
Timed tickets require noting the slot and the enforcement policy – some turn you away, others flex.
Outdoor spaces transform completely. A viewpoint in fog or a park in driving rain isn’t the same experience. Light matters. Weather rewrites the plan.
Scan for local holidays, event closures, major construction. If this information can’t be verified, demote the stop to optional. Never anchor an entire day to an uncertainty.
This prevents the locked door, the wasted trip, the stranded arrival. It’s the difference between planning and wishing.
Plan the Route and Timing
Map an efficient walking/transit path
Once you have your must-sees, map them in the order that makes sense on the ground, not just on a screen. Start point matters: where you’ll actually be that morning, and how you’ll get there. Group stops by proximity and transit lines.
If walking is the plan, watch out for barriers like rivers, rail lines, steep hills, and “looks close but isn’t” zones. If transit is involved, check station entrances and walking time inside big hubs. Also think about your finish point: near dinner, near your hotel, or near a major connection. A clean route reduces decision fatigue. You want to spend brainpower on the place, not on constant navigation.
Estimate time per stop and buffer for breaks
Time estimates should be blunt. For each stop, write a minimum and a likely time: “15 min quick look, 40 min if I read things.” Add transit time between stops, then add buffer. Buffer is not optional; it’s how you keep the day from collapsing after one delay. Plan breaks like they’re stops: coffee, food, bathroom, sitting down.
If you’re going through museums or crowded areas, assume slower movement. If you’re with a group, add extra minutes for regrouping and discussions. A simple target: schedule 70–80% of your available time, leave the rest unassigned. That empty space is where the day becomes enjoyable, not stressful.
Create alternatives for weather or crowds
Always prepare alternative routes before conditions force your hand. Weather shifting? Replace exposed segments with indoor options: galleries, covered markets, libraries. Crowds overwhelming? Reorder the day. Target major attractions early, then transition to calmer zones. Maintain one simple, reliable option – a neighborhood circuit, a food hall, a straightforward walk.
During peak season, expect at least one venue to be unworkably packed. Alternatives avert that frustrated “we traveled for this?” feeling. They also streamline decision-making. That speed matters – especially when you’re stalled on a sidewalk, rain coming down, staring at your phone.
Prepare Tools, Materials, and Logistics
Decide on navigation apps, offline maps, and downloads
Plan your navigation before leaving. Pick a main map app, but always have a backup – apps glitch and phones become dumb bricks. Download the area for offline use, especially with spotty service or pricey roaming. Instead of just a single route line, save your plan as a list with pinned stops; this lets you hop between points when needed.
Pre-download any audio guides or podcasts and check they actually play. Keep addresses and crucial info in an offline note. Screenshots are a simple fix: grab your ticket QR code, entry details, and transport schedules. Never depend entirely on live data. A self-guided tour must function even when your phone decides to conserve its last bit of power.
Pack smart: essentials for comfort and safety
Pack for the tour you’re actually doing: walking, transit, indoors, outdoors. Keep it light, but don’t skip basics that prevent a bad day. The exact list depends on climate and location, but a few items cover most situations:
- Water and a small snack
- Power bank and charging cable
- Basic first-aid items (bandages, pain relief if you use it)
- Weather layer (rain shell or warm layer)
- Hand sanitizer and tissues
- A pen or small notebook if you like notes
If you’re carrying valuables, choose a bag that closes well and doesn’t force you to set it down constantly. Comfort reduces distractions.
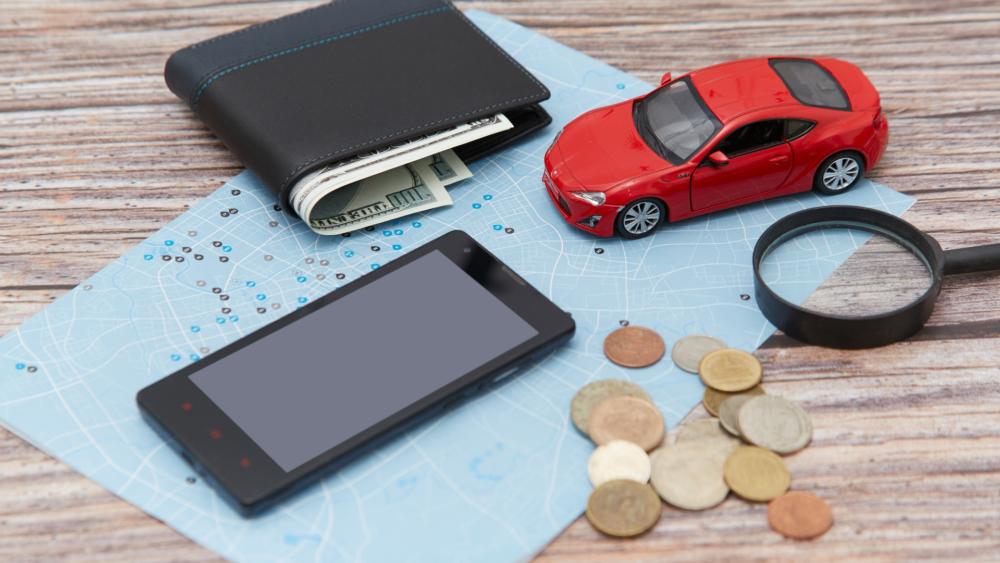
Handle tickets, reservations, and transport details
Lock the logistics down first – the stuff that can wreck a schedule. Timed tickets, entry reservations, transport rules. If something sells out, book it early and build the day around that window. Save confirmations and QR codes offline. Verify the fine print: ID requirements, bag restrictions, security lines.
For transit, nail the payment method. Card tap, app ticket, or paper. Some systems demand validation before boarding; fines are no joke. Using rideshare? Check pickup zones near major spots – some areas block cars entirely during peak hours. Jot down key station names and exits.
This is the grunt work. Boring, until a missed detail costs you an hour.
Make the Tour Engaging and Memorable

Add stories, prompts, and mini-challenges
Self-guided tours often fall flat. You walk, look, leave. The fix? Insert tiny prompts that give each stop a purpose.
Before arriving, lock in one question. Not a generic one – something specific. Why *here*? How has the block shifted over decades? What do neighbors actually use this spot for?
Weave in quick, unobtrusive challenges. Spot a particular carving on the facade. Contrast two shop signs. Choose your favorite building corner. Rate three cafes on cost and atmosphere.
With a group, assign roles on the fly: navigator, photographer, fact-checker. Keep it playful. The goal is engaged attention, not a checklist. The experience should feel loose, never like an assignment.
Capture the experience without slowing down
Snaps and jottings are useful, until they take over. Decide first: are you grabbing quick shots, or will you zero in on a couple moments? For photos, follow a simple method. One wide frame to capture the vibe, one tight shot for detail, then stop. If shooting video, keep clips brief. No constant do-overs.
With notes, use bullet points, always. Log names, fleeting reactions, whatever you might forget. Tracking food spots? Save them with just the essentials: what you ordered, the price bracket, would you go back. This isn’t about building a feed. It’s memory assistance. You’re there to see the place, not to stage it.
Wrap up with reflection, notes, and improvements
End the tour with five minutes of review while it’s fresh. What worked: pacing, route flow, stop quality. What didn’t: too many museums, too much transit, not enough sitting time. Mark the places you’d recommend, and the ones you’d skip next time. If you want to refine the tour for reuse, update your map list: reorder stops, add “avoid at peak hours” notes, and tag good bathroom or snack breaks.
If you found gaps in context, add one reliable link for later reading, not a dozen. This wrap-up is how your next self-guided tour gets better fast. Also, it’s satisfying. You did the day on your terms, and you now have a version you can repeat.
❓FAQ❓
How do I choose a starting point if I’m staying outside the center?
Pick a spot you know you can hit daily – a major station, your hotel, a main bus stop. Build outward from there. This way, you won’t end up scrambling against transit schedules later.
What’s the best way to avoid tourist-trap stops without missing “the good stuff”?
Check the hype against one local source: a neighborhood forum, community board, or local paper. Look for specifics – concrete details – not glossy language.
How do I plan a tour if I have limited mobility or someone in the group does?
Start with seating, smooth surfaces, and elevator access. Make accessibility the foundation, not an afterthought. Then select stops that work within those parameters.


Leave a Reply